
BUILDING MY WEBSITE
HARDWARE AND TOOLS USED
- Mobirise
- Atom
- Illustator
- Github
- Photoshop
THE PROCESS: In order to build my website I used Mobirise. Mobirise is a cloude based development tool for buildig html5 responsive websites free of charge. Then after finlaizing the design I used a text editor that called Atom which is a free and open-source text and source code editor to apply a few minor changes on the code in order to add some personalization to the pages.
DESIGNING MY WEBSITE & EDITING THE HTML PAGES
As mentioned before for designing my website I used an offline app called mobirise which you can access by clicking
HERE
Mobirise is very simple tool to use due to its simple user interface all you have to do after subscribing in their website and downloading the offline app on your pc is to
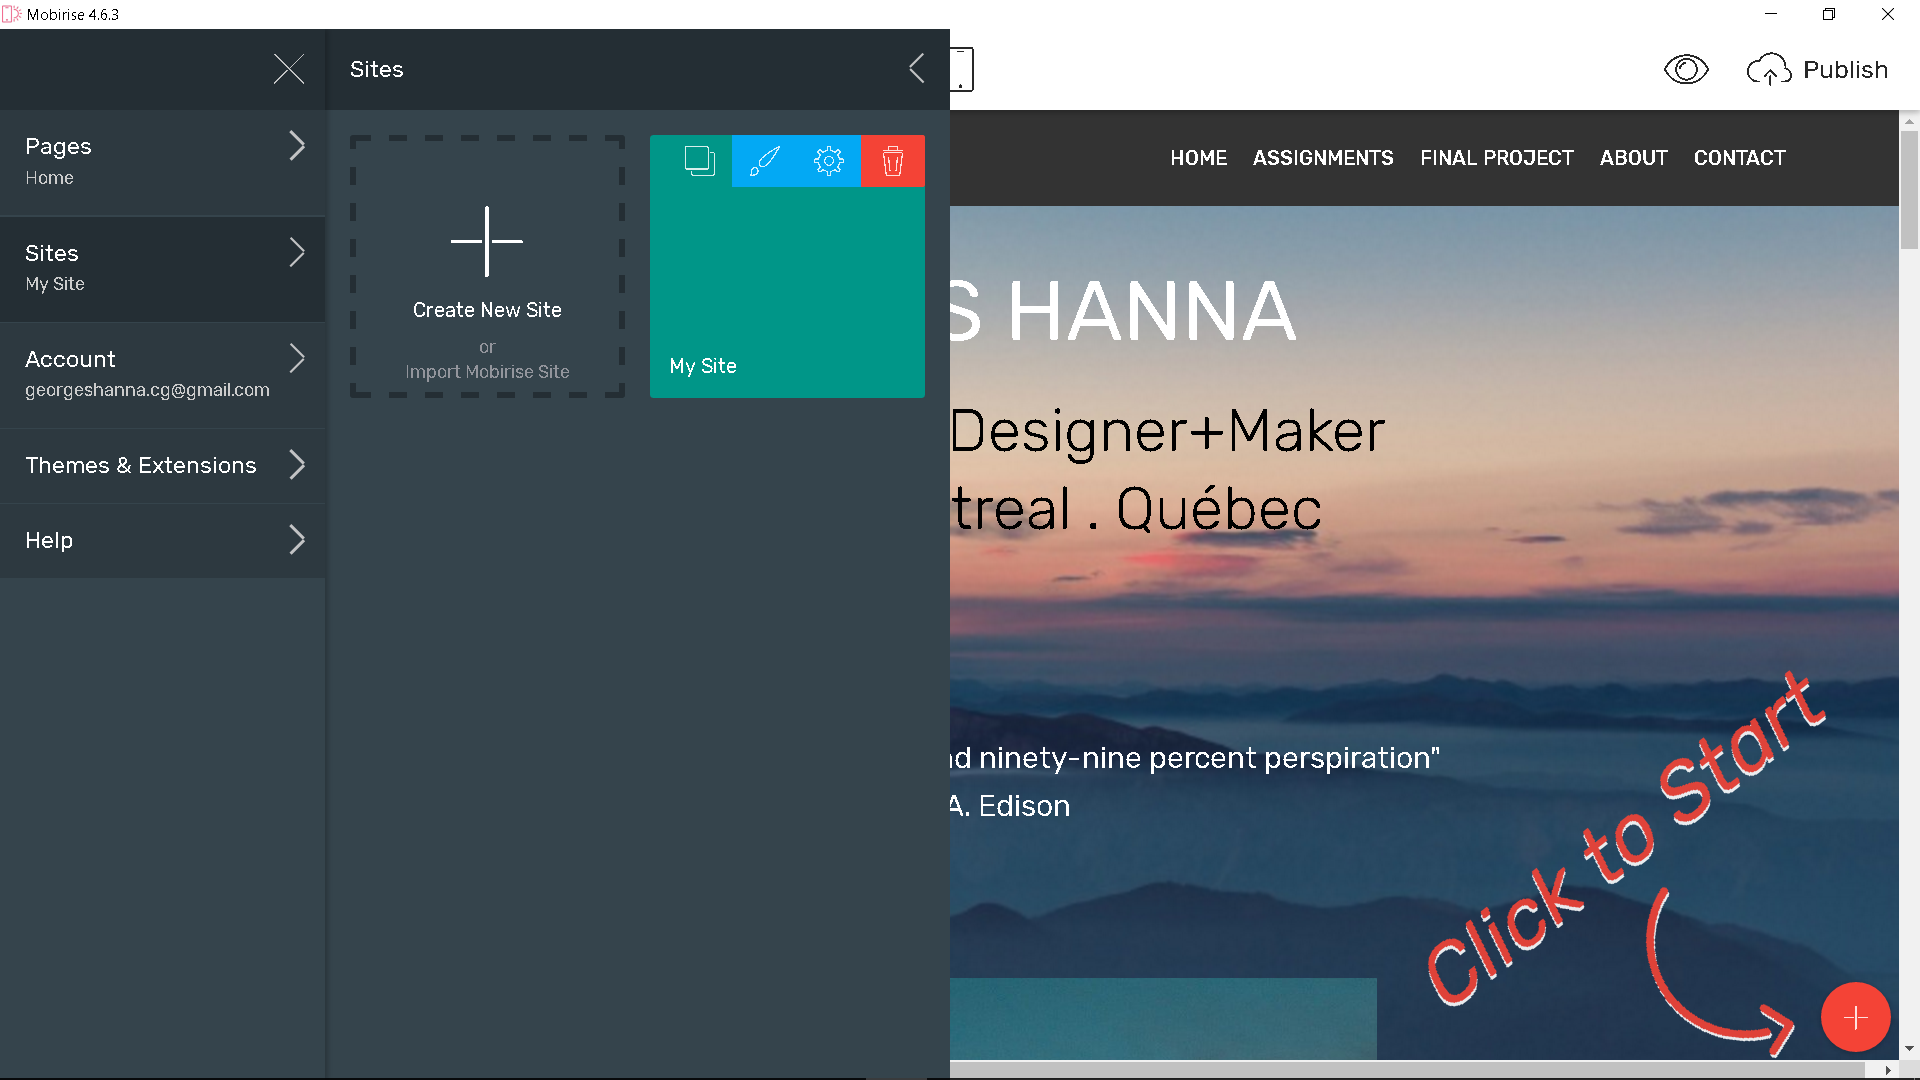
First, For building the website I had to start with creating a new website by clicking on the big plus button as shown in image #04 and after that I had to choose a theme that I wanted to use as a starting point you can do that by clicking on the red “plus” button which is located in the lower right corner and start dragging any block you like from the ready-made template section as show in gif sequence #01
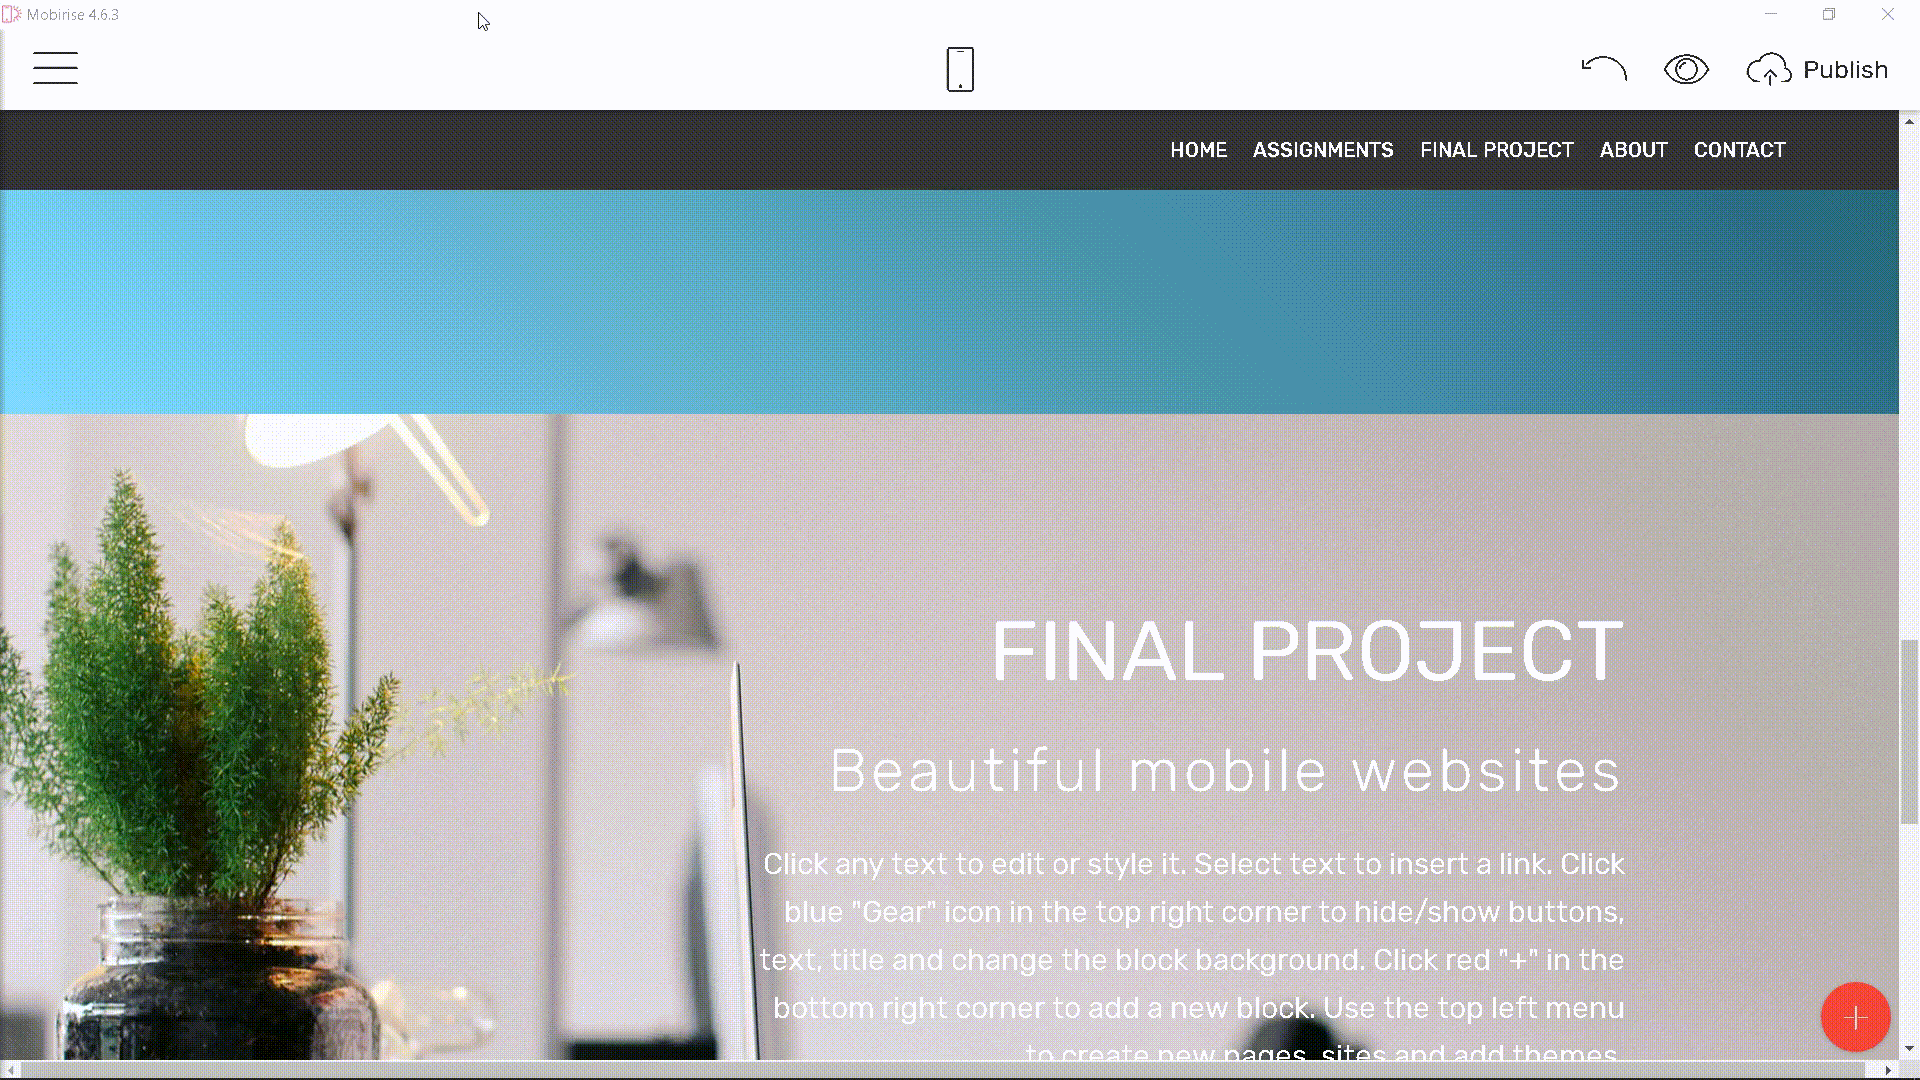
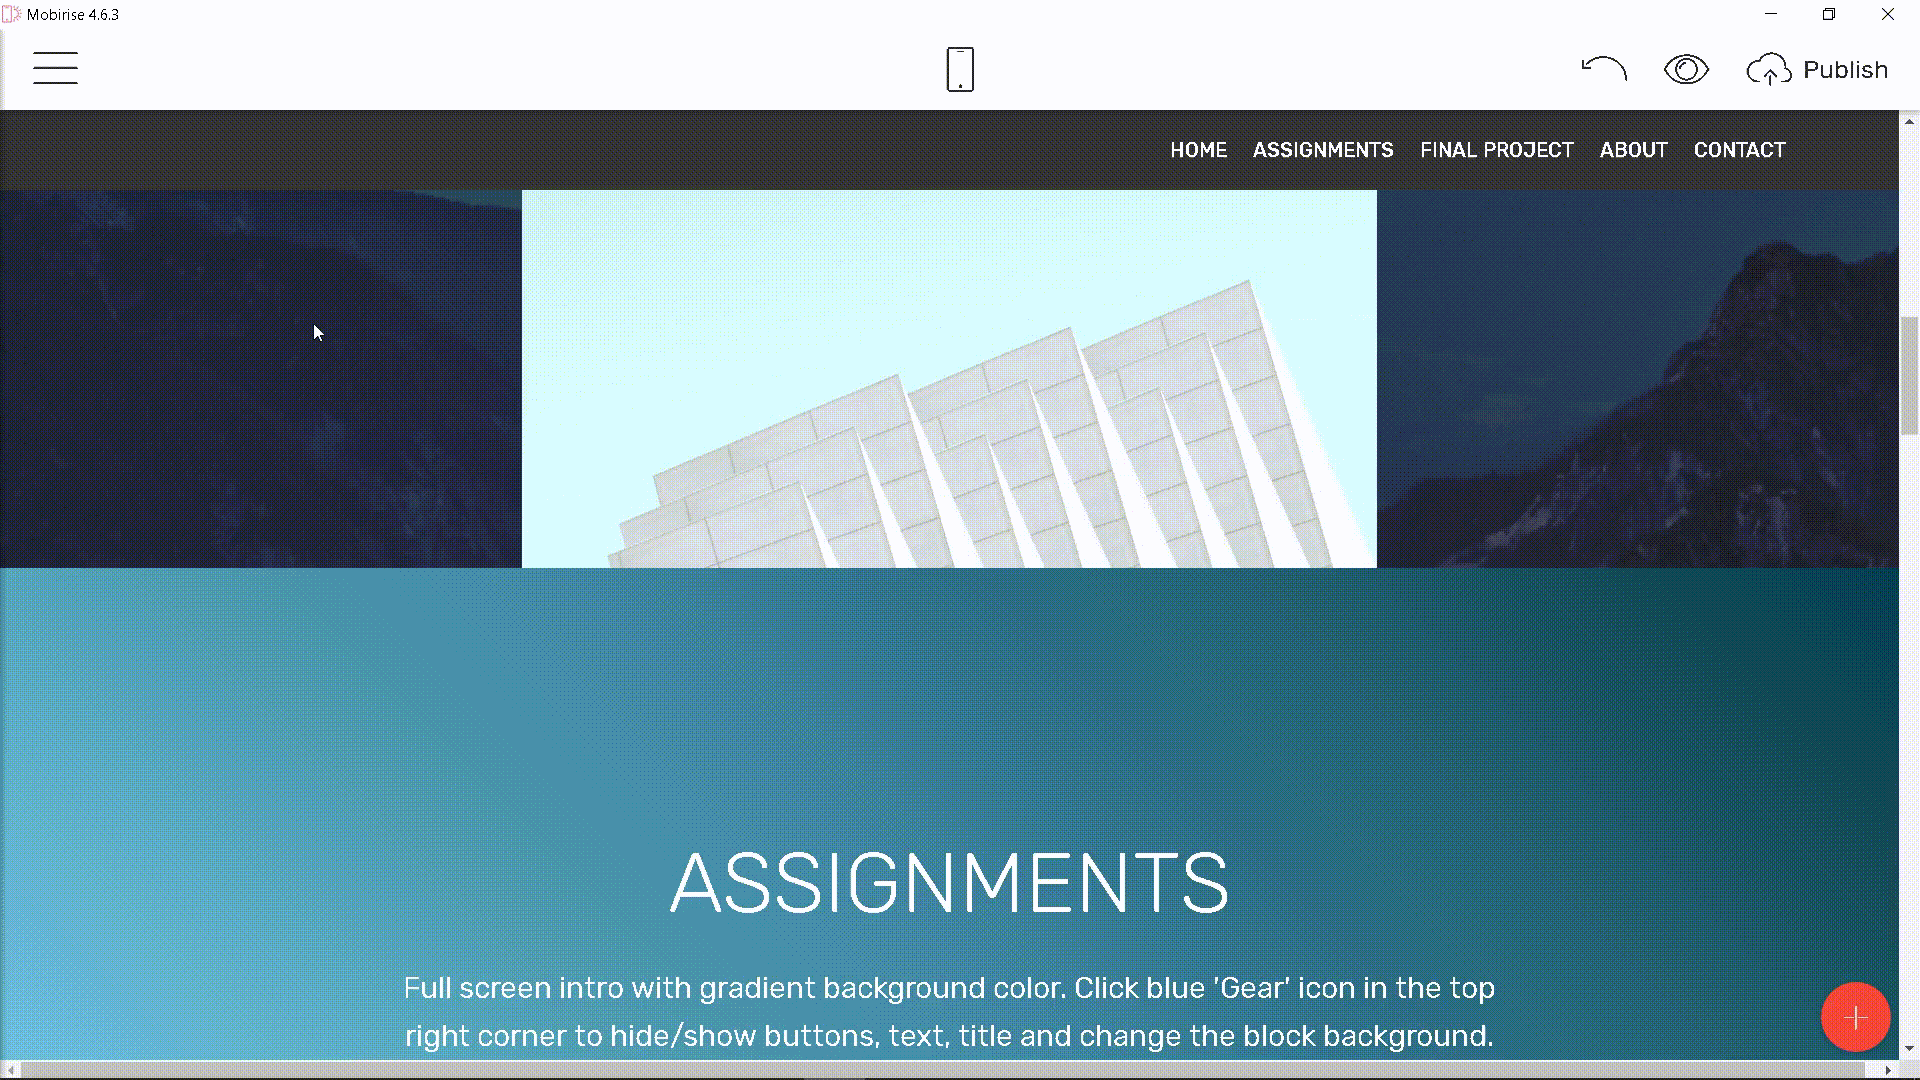
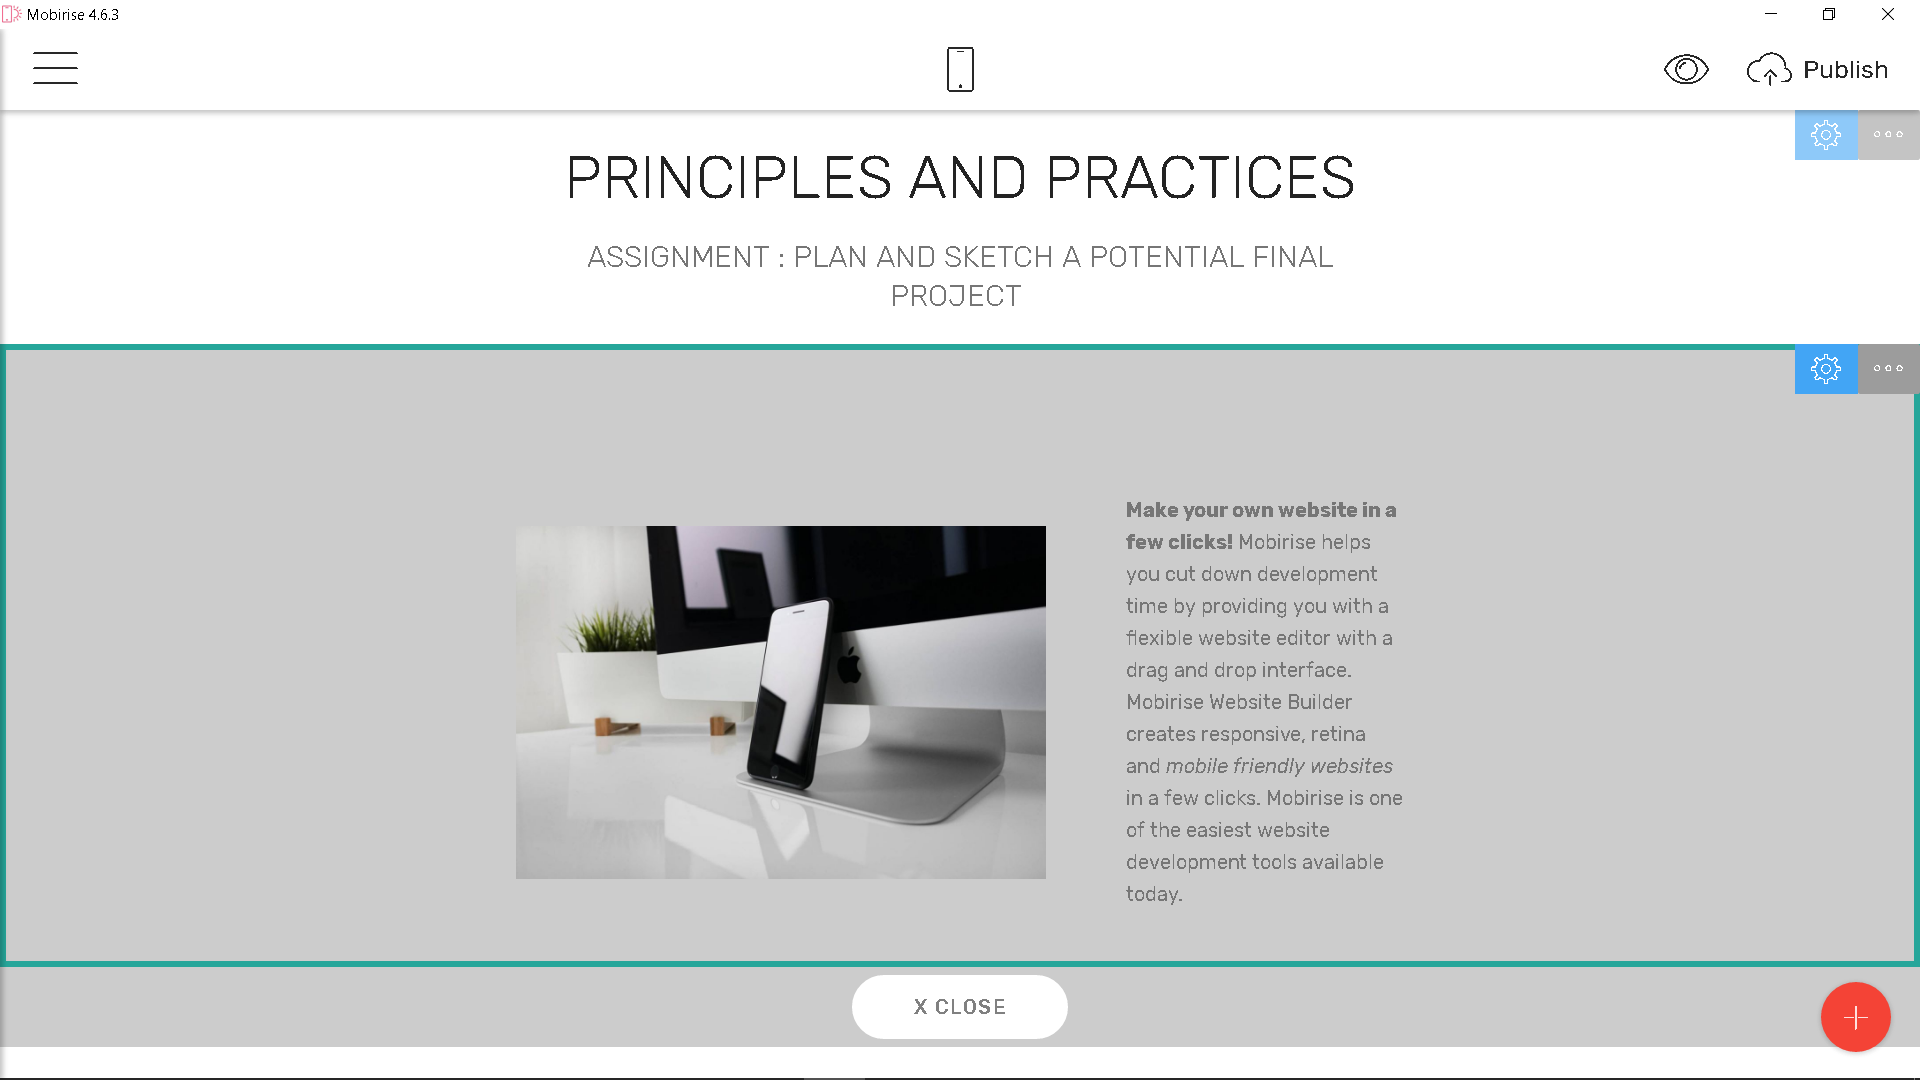
Second, I had to edit the content for each block and did this by clicking on the media elements as shown in gif sequence #02 note that since I have to add a lot of text and images in the future I decided to use Mobirise just for designing the overall look and feel of my website and I decided to use generated html pages as templates for my upcoming weekly projects because it would be much easier for me to use Atom software later on for editing and updating my pages.
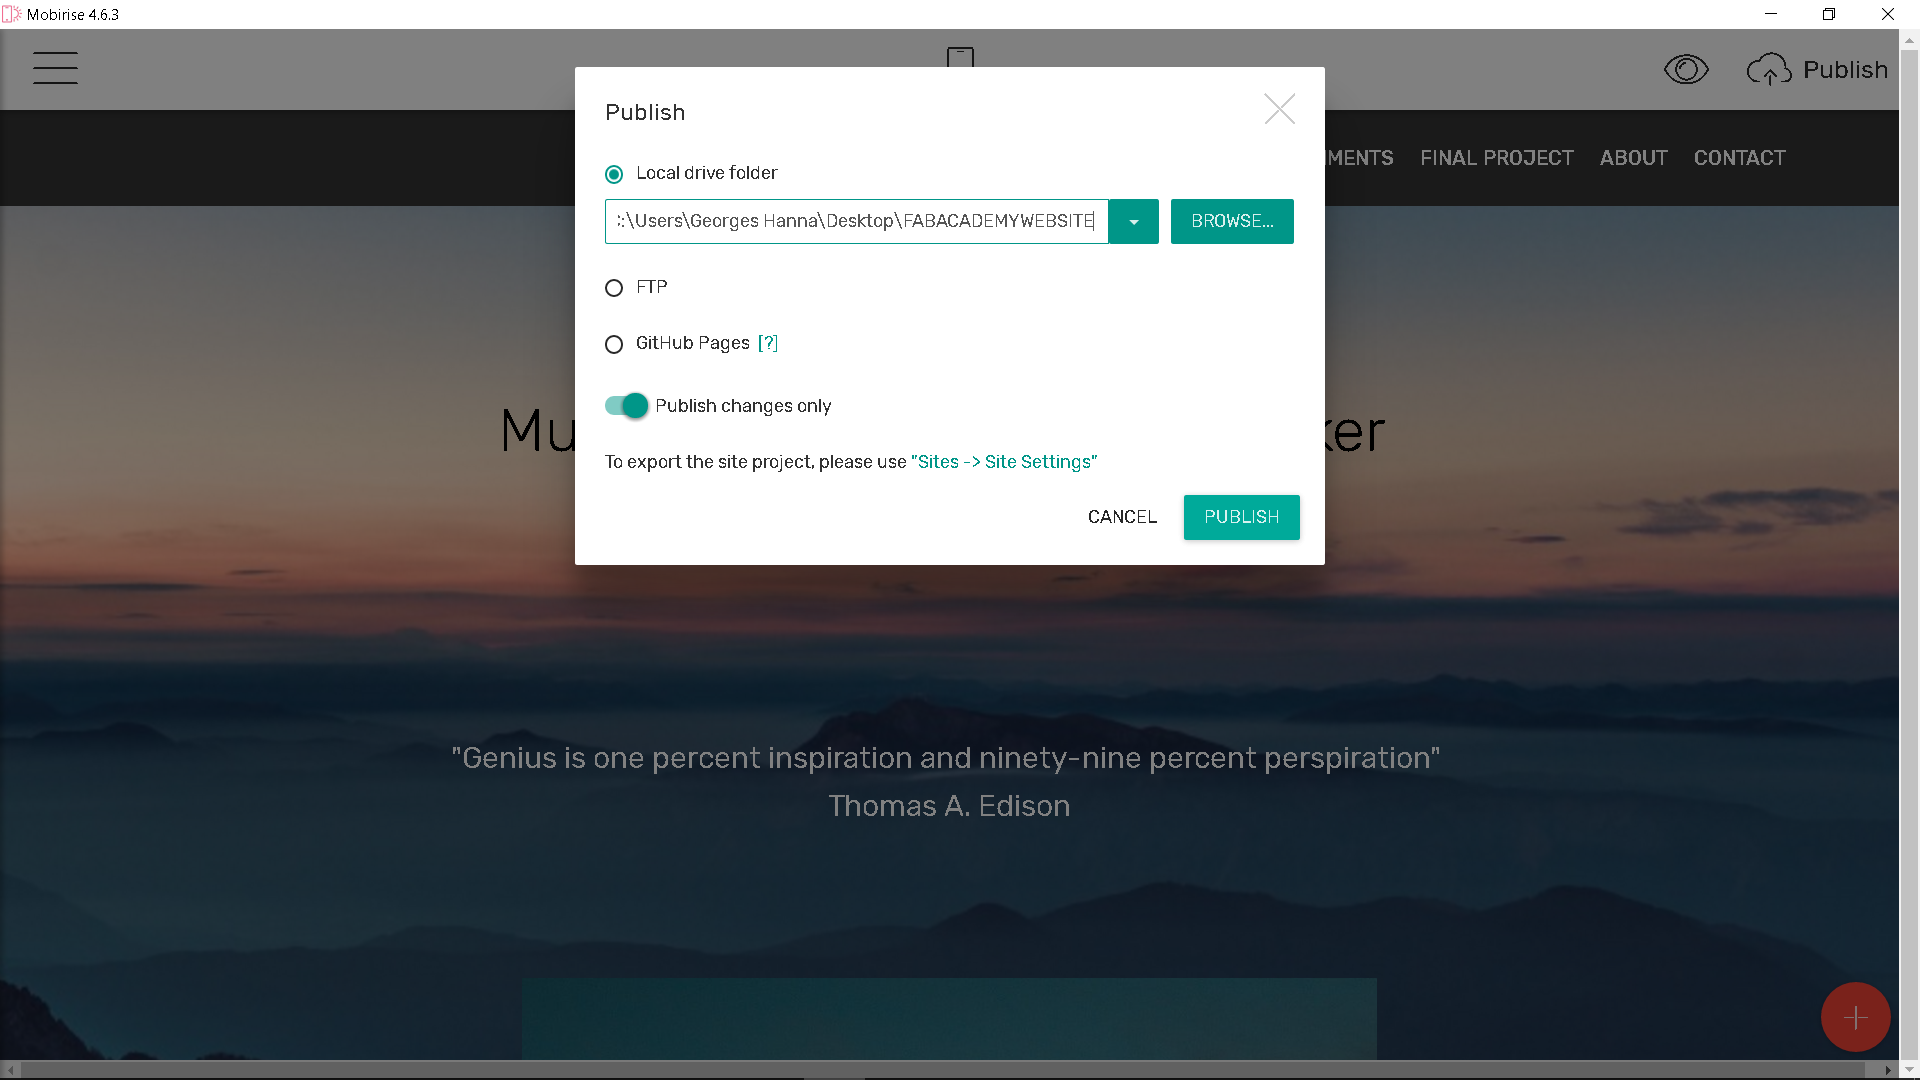
The next phase was setting block parameters I had to set the appropriate options for each media element I used as shown in gif sequence #03 And once I was done with adjusting the layout along with the parameters and in order to see how my website looks like I was using preview in browser button constantly to check if the website is functioning well before hitting the publish button Mobirise allows you to publish your website to local drive, FTP or Git hub pages and in my case I chose to save my website files local drive as show in image #06.
Mobirise is totally free tool for commercial and non-profit use as it is mentioned on their website ( check image #05 )
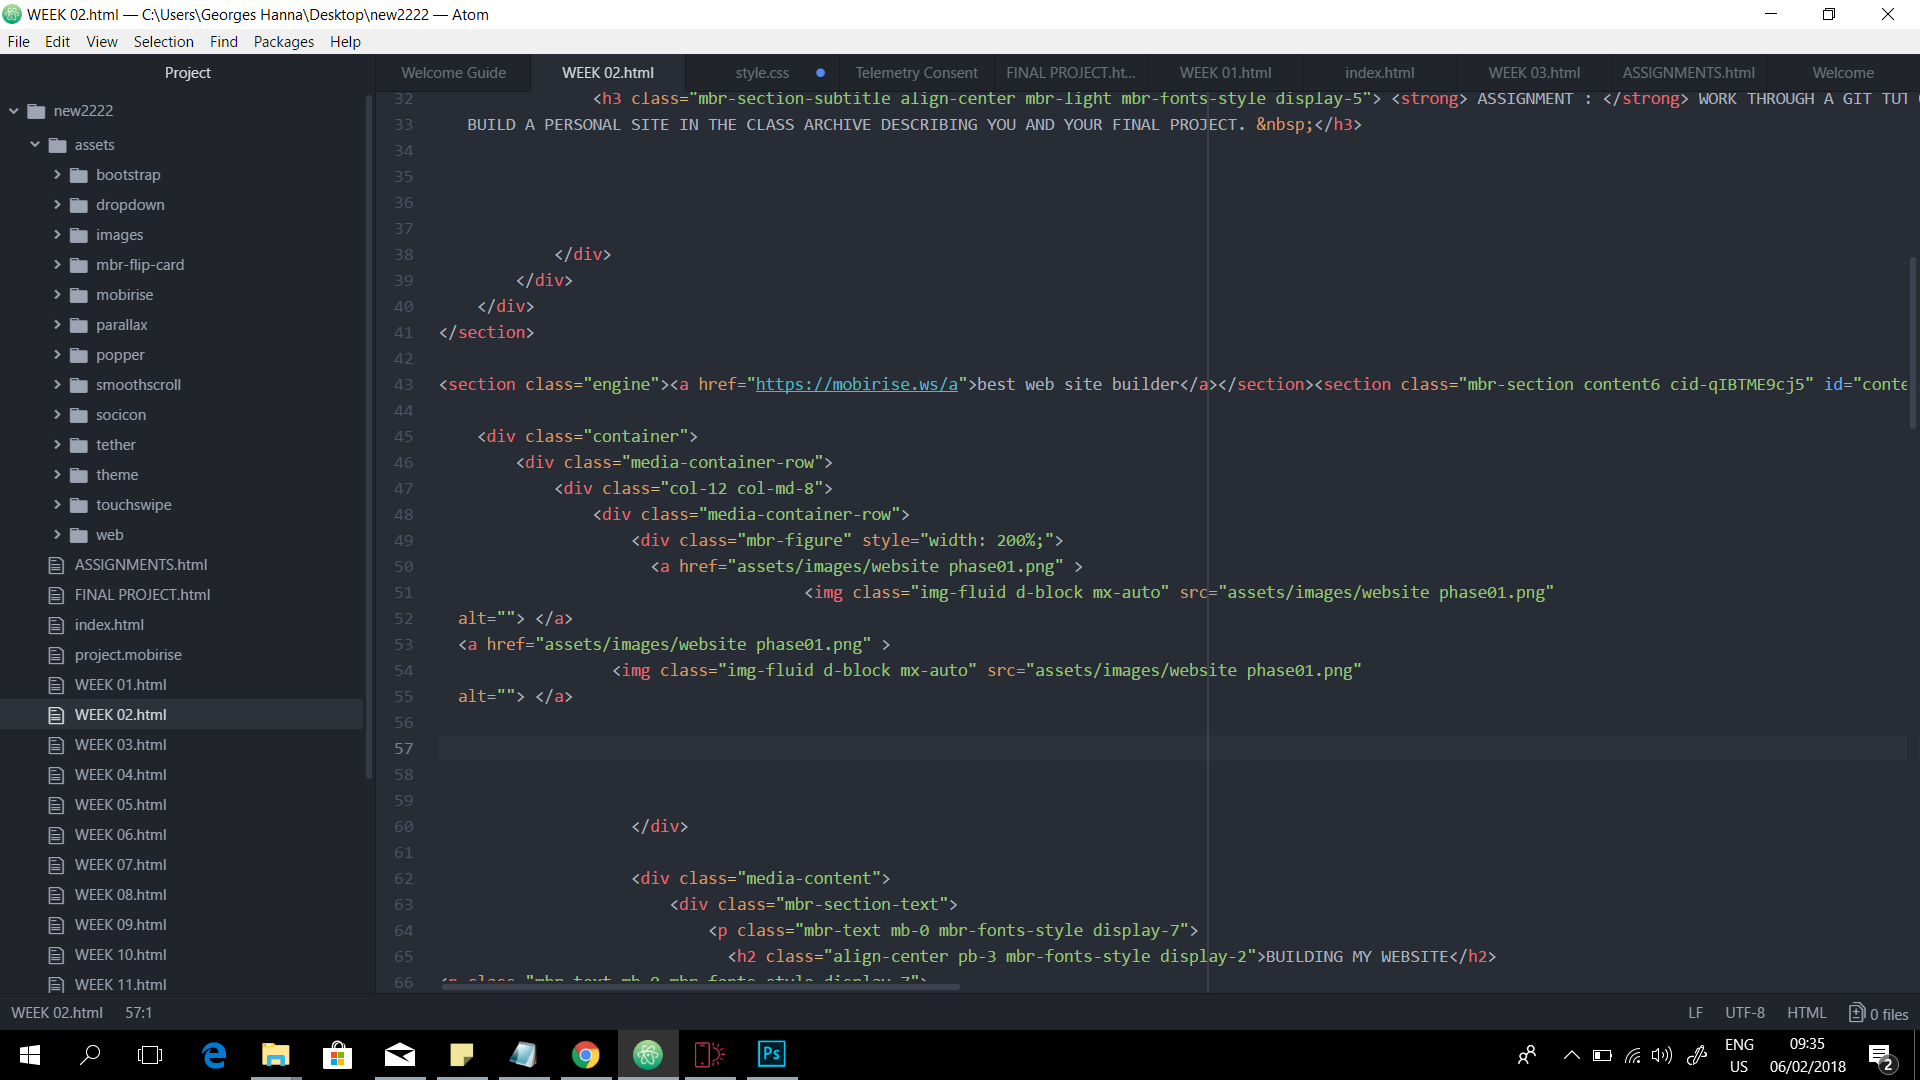
However, After I was done with publishing my website locally on my PC I started opening the source code of the HTML files in Atom and started adding, changing the pictures, titles and the text according to my needs .
Placing some dummy reference pictures images and dummy text initially in Mobirise helped me a lot later on when editing the pages later on in Atom because it made it super easy to locate and modify the images, text the overall style of the pages .
For example, For adding a new photo on my website all I had to do was opening the HTML source code and locate the reference image that was placed in Mobirise and duplicate the same code into Atom text editor.
As for changing the reference images I did that by simply assigning another file path to the image tag.
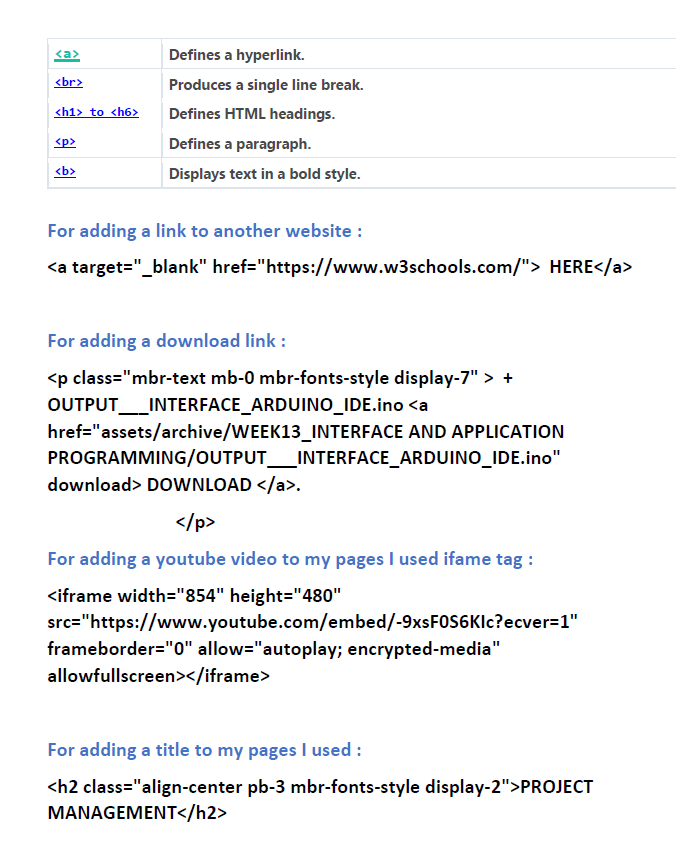
For me building a website was really a challenging task I learned a lot by trail and error and since I'm not into programing and website development at all and I wanted my website to be fully responsive which can be accessed via different devices, Honestly first couple of days I did not know from where to start but after surfing the web and learning a lot from a website called w3schools, which you can access by clicking HERE and after using Mobirise app everything was fine without any difficulties. Image #10 shows some useful HTML tags I had learned during this week.
Overall, Not for the sake of marketing Mobirise but it was really an awesome tool to use and it is a highly recommended for rapid website prototyping and for non-programmers it is definitely a good choice as for Atom it was super helpful tool with friendly and straightforward user interface.
USING GIT
WHAT IS GIT: Git is a free and open source distributed version control system designed to handle everything from small to very large projects with speed and efficiency. And it can be use on Windows, Mac and Linux.
THE PROCESS: First, I had to install Git on my PC in order to manage the content of my website and to be able to push and pull my files and to synchronize them with the repository. Below is the download link for Git version 2.16.0.2 Click HERE to download.
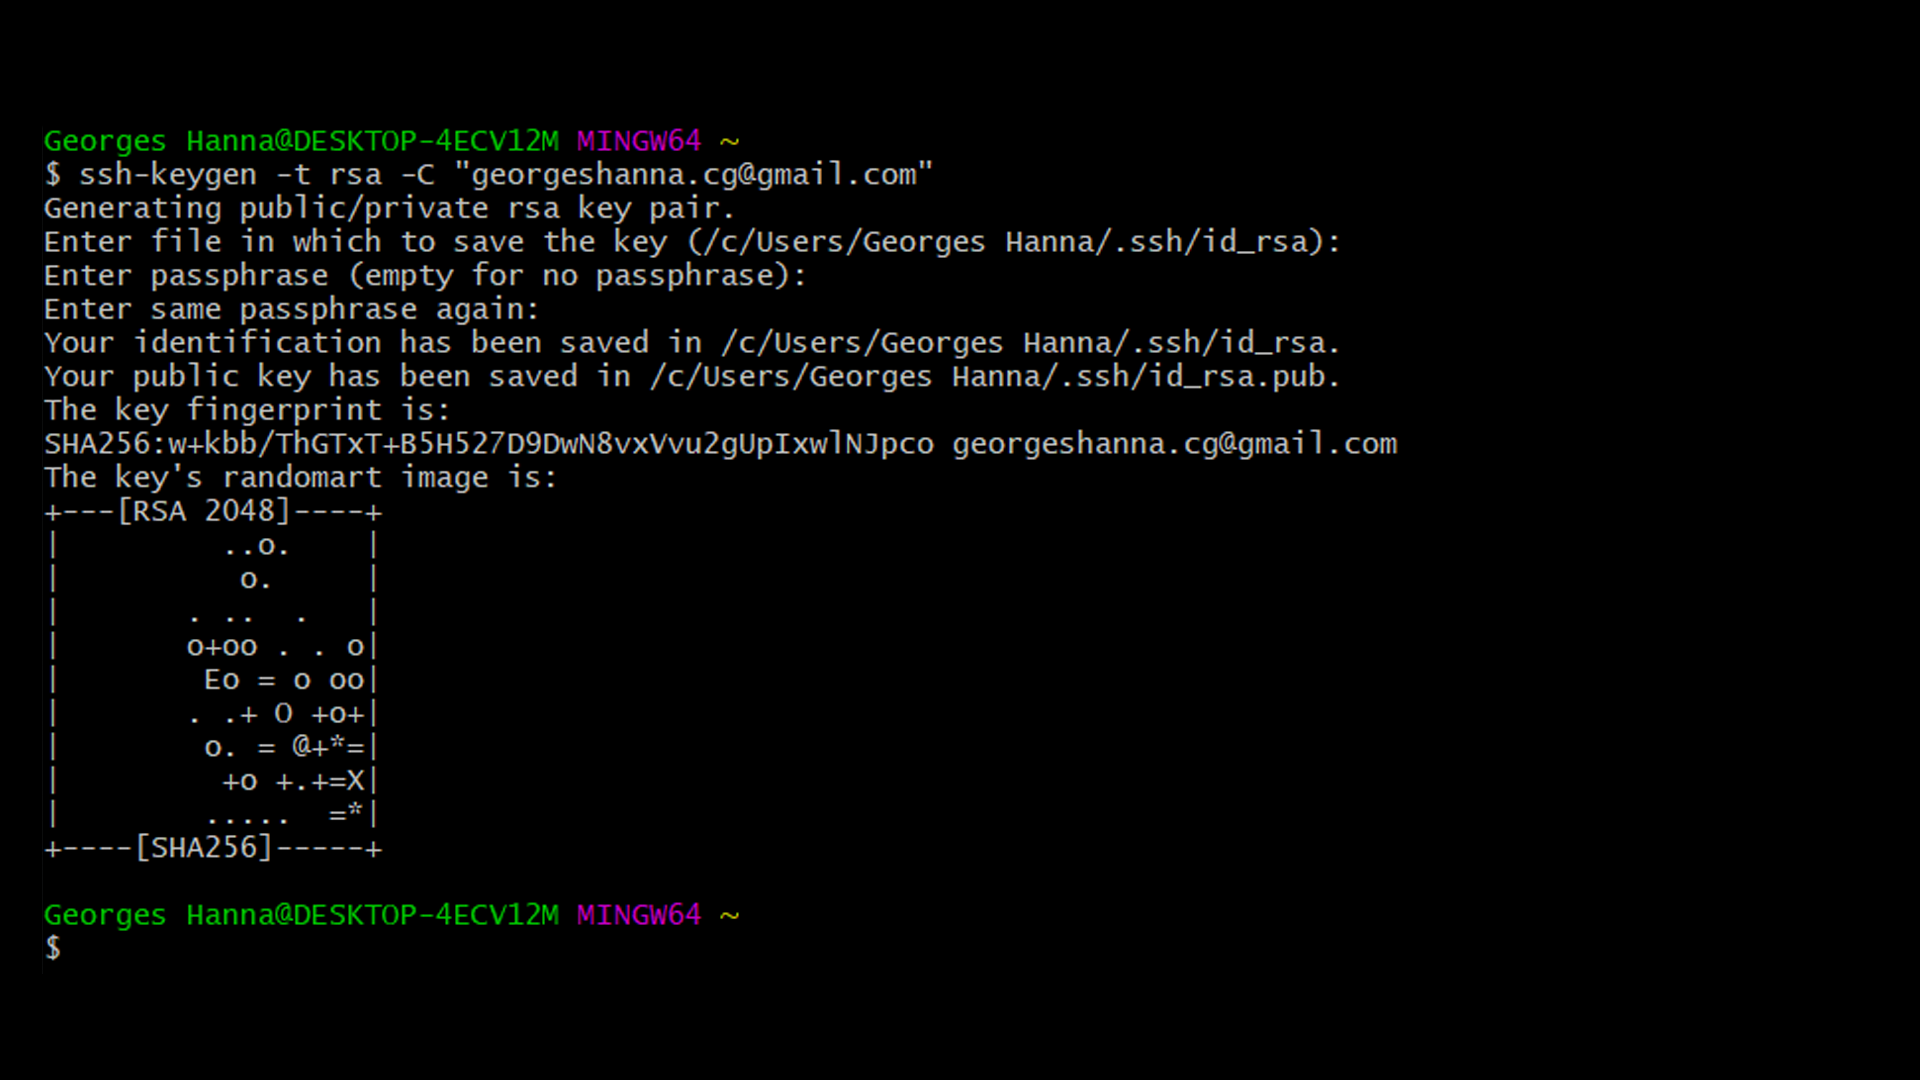
Second, I had to ganerate my SSH key. SSH key is usually used to allow users to establish a secure connection between their computer and GitLab
To ganerate SSH Key on windows you can follow these steps :
1- Log in to your local computer as an administrator.
2- In a command prompt, run
ssh-keygen -t rsa -C "your_email@example.com"
Associating the key with your email address helps you to identify the key later on.
3- Just press
4-Enter, and re-enter, a passphrase when prompted.
5-You're done!
PUBLISHING MY WEBSITE
For publishing my website I had to follow a few steps as indicated in the online tutorial provided by Fiore Basile, The steps are as follow :
1 - You create a gitlab-ci.yml file of type HTML.
2 - You upload a static webpage.
3 - Every time you update any file in your projects (using git or the web interface) your website will be updated
To put it simply, Yml file is used for project configuration. It is placed in the root of your repository and contains definitions of how your project should be built.
Note : I added the .yml file (before using git clone) from the gitlab.
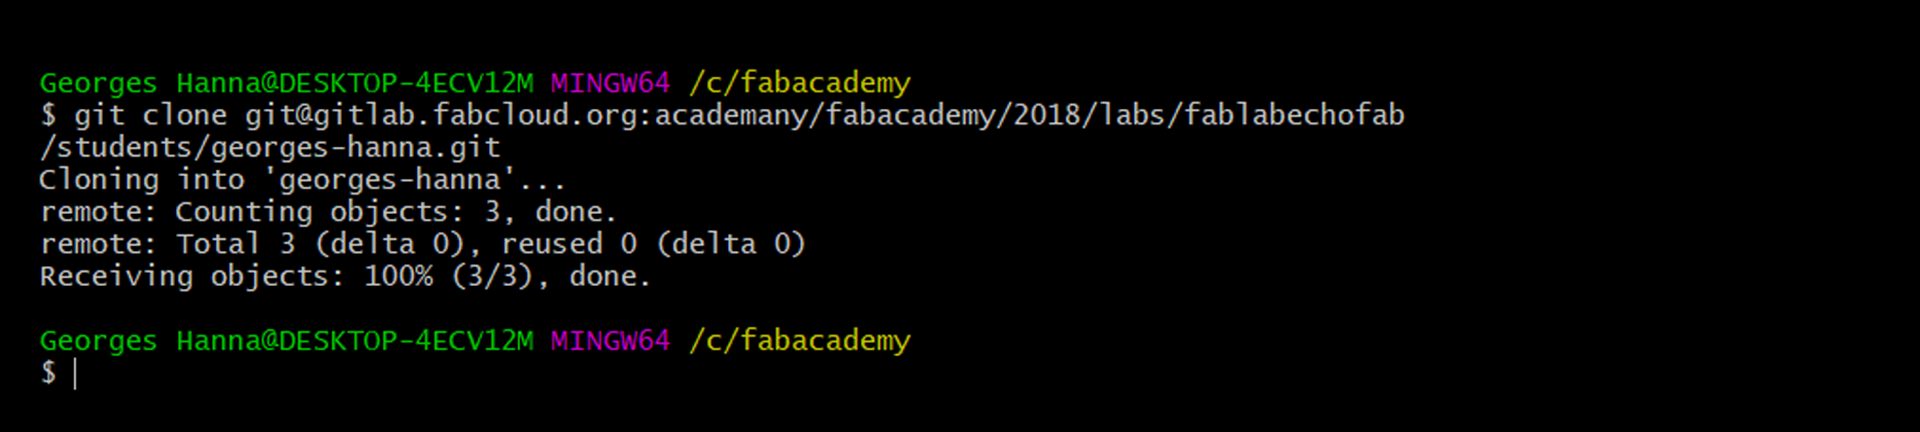
With SSH key setup successfully in GitLab, clone the Fab Academy repository to local Repository using the following command but do remember to change (LabRepo) with the name for your Fablab Group Name
The following order should be used to push files to the Remote Repository
git pull > Get latest update down to local drive
git add . > Adds modified and new files to be committed later.
git commit -m "testing" > commits the files that have been added and creates a new revision with a log
git push > Pushes updated files to repository
git clone > Clone a repository into a new directory
USEFUL TIPS & LINKS
+ Interactive tutorial HERE.
+ Interactive tutorial by Fiore Basile HERE.
+ Fab-20180_Recitation01 version control by Fiore Basile HERE.
+ Mobirise HERE.
+ Atom HERE.
+ Git hub HERE.